
Greetings BPM Fans! Did you know that gnomes are a symbol of good luck? Farmers still use them today to watch over livestock and crops. They place gnomes in the rafters of the barn or put them in their gardens. I just think they are so cute. Just check out this adorable one from Blank Page Muse called Gnome Starbright. This stamp set comes with a 5" tree and the sentiment, Let Your Light Shine. I colored him in Christmas colors, but you can color him any color for any occasion card or project.
I hope this card inspires you to enter the Blank Page Muse December Challenge, "Celebrate!" This is a really fun card to make!

I made this 6"x 6" card using distress inks for the background and added stars using the Stars template available at Blank Page Muse. To add the stars, I added glitter to texture paste, mixed it well, then used the stencil to add the stars. All the supplies and instructions to make this card are listed below. Give it a try!
Supplies:
- Blank Page Muse stamps: Gnome Starbright set
- Blank Page Muse stencil: Stars
- White cardstock cut to 12"W x 6"H, scored at 6", folded in half. This is the base card.
- Black cardstock cut to 5-7/8"W x 5-7/8"H for the mat.
- White bristol or watercolor paper cut to 5-3/4"W x 5-3/4"H.
- White cardstock for the sentiment
- Black cardstock to mat the sentiment
- Distress ink: Tumbled Glass, Stormy Sky, Faded Jeans, Black Soot
- Ink blending tools
- Water & paint brush or water spritzer
- Art Masking tape. I use Eclipse Art Masking Tape.
- Black ink pad
- White gel pen
- Coloring medium of choice. I used Copic markers.
- Transparent texture paste. I used Ranger Texture Paste/Transparent Gloss.
- Silver glitter - fine or extra fine
- Palette knife to apply texture paste
- Paper trimmer
- Scissors
Instructions:
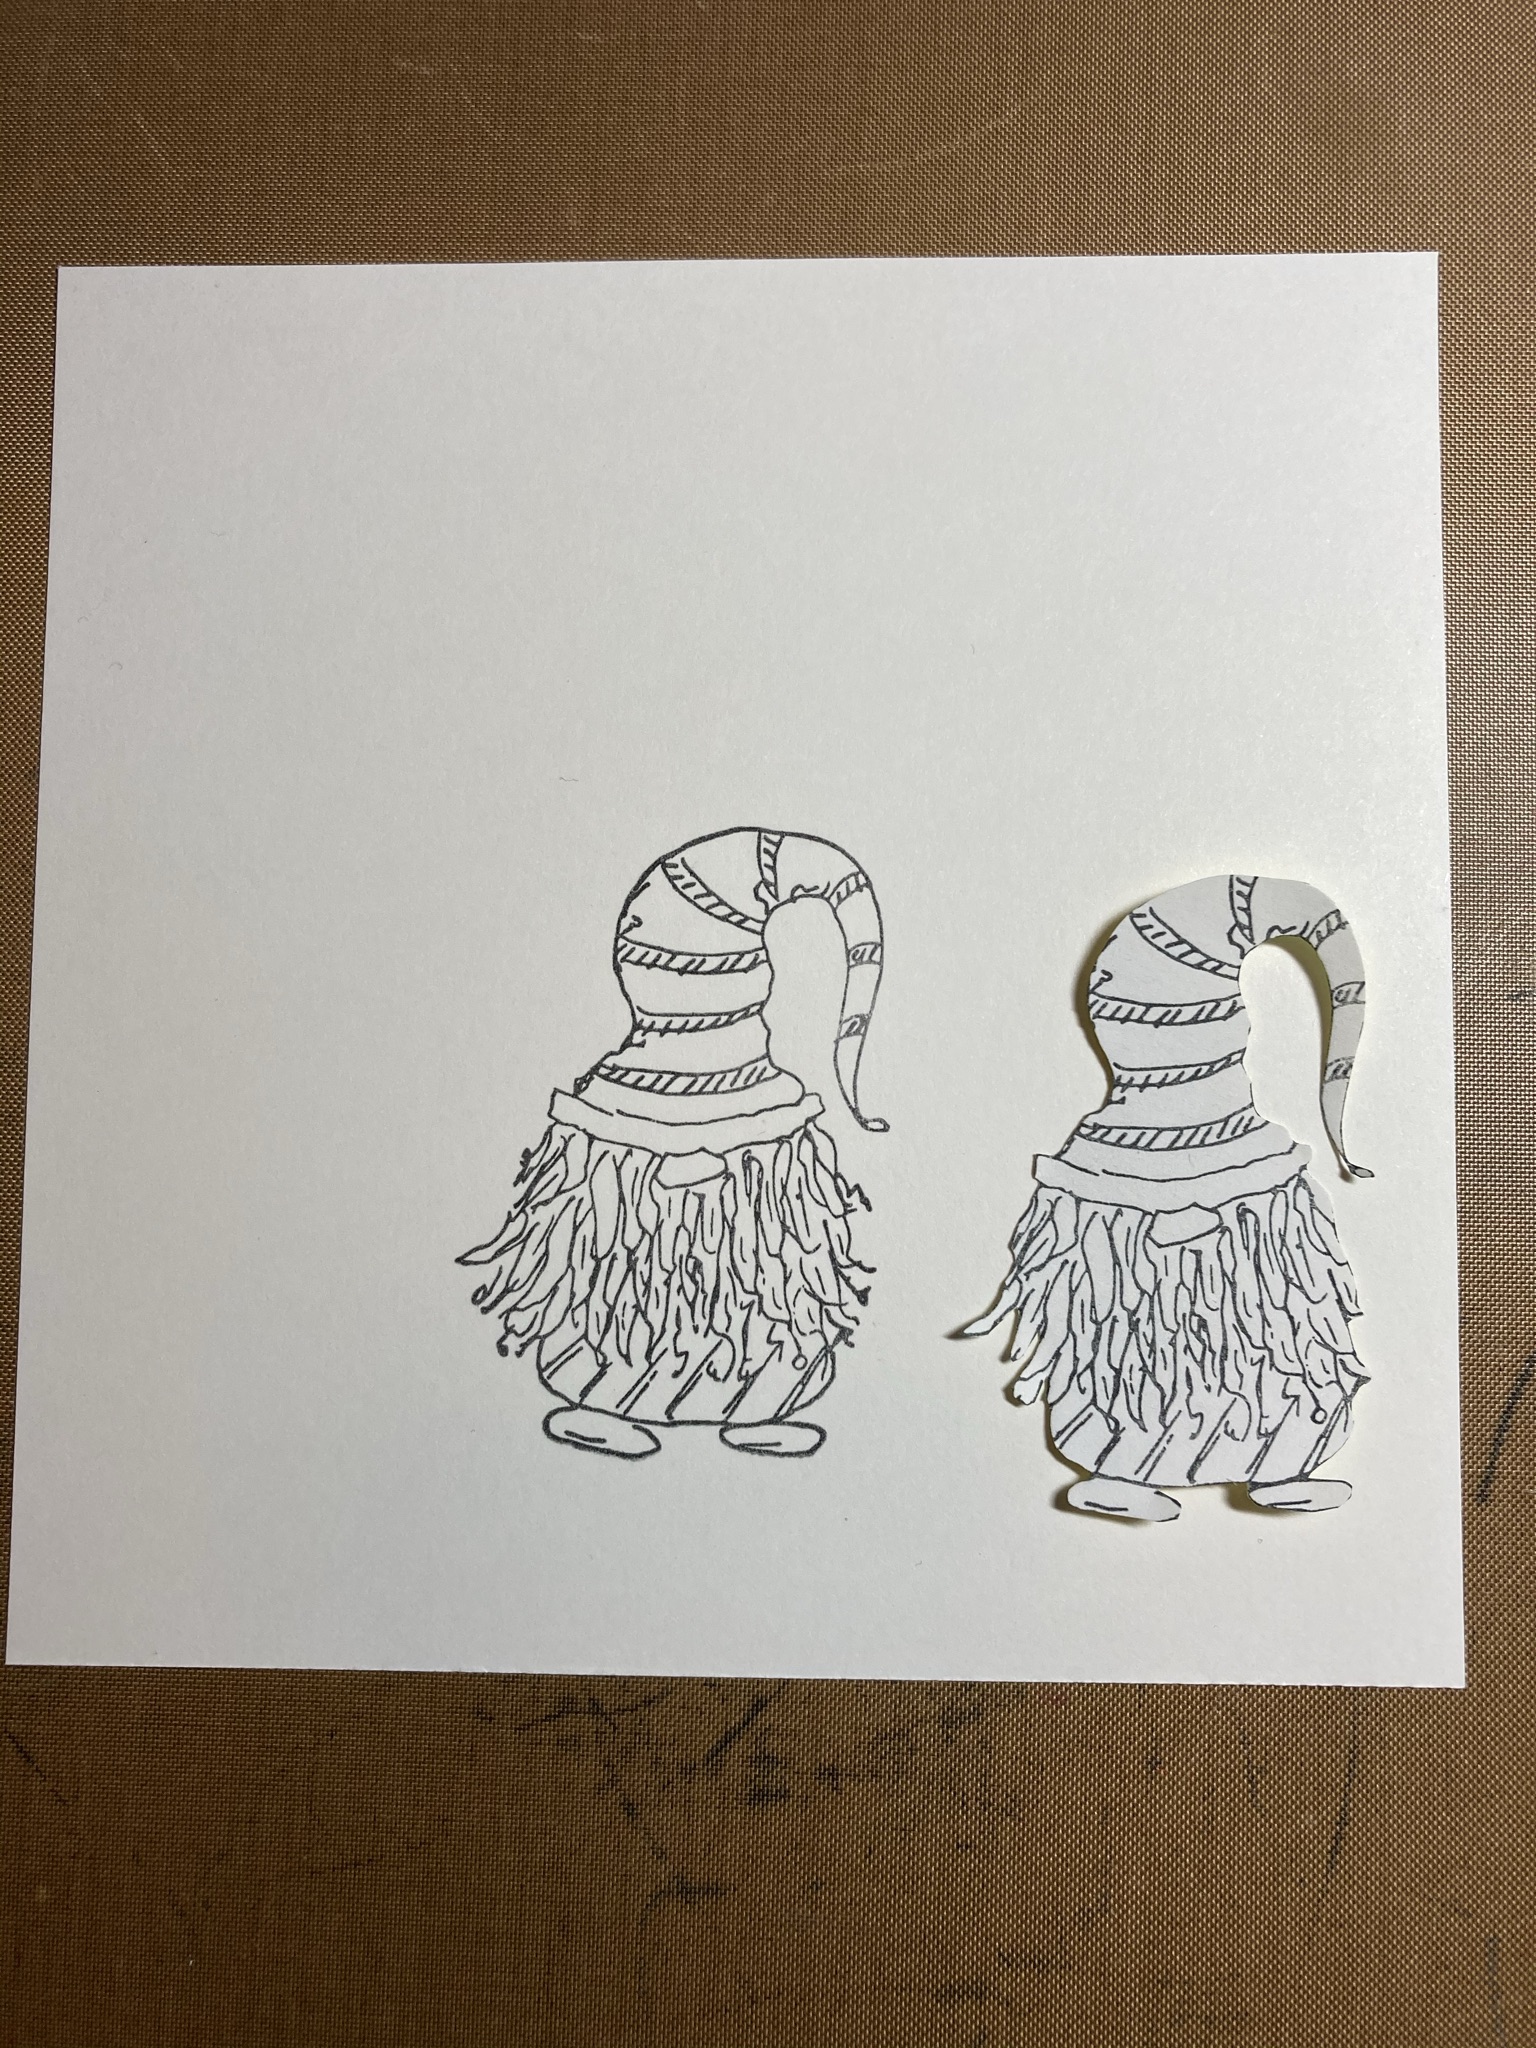
- Using the bristol or watercolor paper, stamp the gnome toward the bottom of the paper.

- The gnome will need to be masked so that when the tree is stamped, a few of the branches will appear to be behind the gnome. Place a small piece of masking paper onto bond paper and stamp the gnome. Using scissors, cut out the gnome.
- For this card, a snow scene will be created so a mask needs to be created. Using a 6"W x 3"H piece of masking tape, place it on a piece of bond paper. Draw the snow across the masking tape then cut using scissors.


- Color the gnome with your favorite coloring medium
- After coloring the gnome, adhere the gnome and snow masks

- Using your blending tool and distress inks, ink blend the sky. use the lighter colors towards the gnome and darker colors towards the edges and corners.

- Spritz water onto the sky area making sure there are some "stars" of different sizes.
- Remove the snow mask, but leave the one on the gnome in tact.

- Stamp the tree

- To add the big silver stars in the sky, first mix the glitter into the texture paste.


- Tape the stencil onto the card then use the palette knife to spread a thin layer of texture paste. Lift off the stencil carefully. Let dry until before adding the big star.


- After adding the texture paste for the big star, ensure it is dry before moving onto the next step. A hair dry or heat gun can be used to speed up the drying process.
- Remove the mask from the gnome.
- Using your coloring medium of choice, draw and color some snow drifts.

- Stamp the sentiment, trim to size. Cut a mat using black cardstock.

- Adhere the mat and sentiment to the card front.
- Adhere the card front to the black mat.
- Adhere the black mat onto the base card.
- Using a white gel pen, add a few snowflakes in the sky and on the tree. the card is complete!


I hope you give this card a try! I appreciate you stopping by today. If you have any questions or comments, please leave them below. ~Betty~
The Blank Page Muse Shop https://blankpagemuse.com/
FB Fan Page https://www.facebook.com/groups/bla...
Instagram - Shop https://www.instagram.com/blankpage...
Instagram - Blog https://www.instagram.com/blankpage...
Twitter https://twitter.com/BlankPageMuse
Pintrest https://www.pinterest.com/blankpage..
OMG this card made me laugh. So cute. Reminds me of Cousin It or ZZZ Top! Cute!
ReplyDeleteLOL! He does look a little like Cousin It!
Delete