Showing posts with label Mother's Day. Show all posts

Saturday, April 27, 2024

Stamp Anniething: Golden Girls Happy Mother's Day Card

Mother's Day is just two weeks away and Stamp Anniething has the perfect stamps to make your Mother's Day card! It's the golden girls, Sophie and Dorothy! I made this easel card so that my mom can display it on Mother's Day.  So fun to make!


Stamp Anniething products used:
  • Dorothy-I Hope Your Day is Golden stamp and outline die
  • Sophia-Picture This (digital stamp)
  • Miami Parlor Stencil
  • Hybrid Ink Cubes in Apple Green, Bamboo, Mocha
  • Flowers & Leaves Dies
  • Shaker Basics Set 1 (circle die)
  • Summer Tropics paper pack (retired)
  • Farm Life paper pack (retired)
  • Let's Get Wild paper pack (retired)
Supplies used:
  • A2 white card base
  • White cardstock 4.25"W x 5.5"H - scored and folded at 1/2" and 3" (for easel)
  • White cardstock 3 7/8" x 5" (for stencil)
  • White cardstock scraps for flowers and leaves
  • Brown cardstock (mat)
  • Patterned paper
  • Happy Mother's Day sentiment (I used MS-Word to create)


Copic markers used:

Dorothy
  • Skin: E04, E11, E21, E00, E000
  • Cheeks: E93
  • Tongue: R22, R20
  • Hair: C7, C5, C3, C1
  • Pants: C9, C7, C5, C3
  • Scarf: YR18, YR14, YR12
  • Blouse: V17, V15, V12
Sophia
  • Skin: E04, E11, E21, E00, E000
  • Cheeks: R20
  • Tongue: R22, R20
  • Hair: N3, N1, T0
  • Glasses frame, purse, shoes: E77, E74, E71
  • Glasses lens: B0000
  • Dress: B28, B24, B21
Flowers and Leaves
  • Flowers: V17, V15, V12
  • Leaves: G28, G16, G12
To create the easel, start with a top folding A2 card base. Attach the white cardstock that is 4.25"W x 5.5"H, scored, and folded at 1/2" and 3" onto the card base so that the 1/2 fold is adhered onto the bottom of the card base. The card should stand up as shown. Then add the mat and patterned paper.


Adhere the brown cardstock mat onto the card base. Stencil the background using the Miami Parlor Stencil then adhere to the brown cardstock. 

I created the sentiment using Microsoft Word, printed it, trimmed it, and added a brown cardstock mat.

I cut out a circle using patterned paper then adhered this to the easel. Then added all the colored stamps to create the card front.

This is an easy and fun way to make a fancy fold card. I just love the way this card turned out. I hope you give it a try!


Thank you for visiting and I hope you have a creative day!


Tuesday, April 25, 2023

Paper Nest Dolls: Ellie with Flowers Mother's Day Card

I am still working on my stash of Mother's Day cards. I just love making them with digital stamps. This card is made with the adorable Ellie with Flowers stamp from Paper Nest Dolls. If you're not into digital stamps, this also comes in red rubber! 


I printed the stamp at 3" high and let the width default. I made sure there was enough white space so that I could use an oval die to cut it out to fit an A6-sized card.


I colored the stamp with Copic markers in the following colors:

Skin: E13, E11, E21, E00, E000
Cheeks: E95
Hair: E25, E13, E34, E11,YR20, Y00
Purple: V06, V04, V01
Yellow: YR16, YR15, YR12
Green: G17, YG17, YG03
Blue: B18, B91
White: N3, N1, 0


After coloring the stamp, I cut it out using a stitched oval die from Gina Marie Designs then colored the sky using Distress Ink in Faded Jeans. Then I matted it with lavender cardstock that I cut out with a scalloped oval die from Gina Marie Designs. 

I used a flower embossing folder from my stash to put behind the lavender cardstock then adhered it onto the A6 card base.

To finish the card, I printed the Happy Mother's Day sentiment on my computer and trimmed it to fit the card and adhered it to the top of the card. 


Such a fun, easy, and cute card to make for Mother's Day. I hope you give this one a try!

Have a wonderful and creative day! 


Saturday, April 15, 2023

Paper Nest Dolls: Wishing You a Happy Mother's Day Card

It's just one month away until Mother's Day, so it's time to start making your cards. My card is using an older Paper Nest Dolls digital stamp called "Make a Wish," which I thought was the perfect stamp for Mother's Day. Of course you can use this adorable stamp for just about any occasion, such as birthday, get well, friendship and more.


I printed the digital stamp 3" tall and let the width default. This is the perfect size for an A2 card. I colored the stamp with Copic markers in the following colors:


Skin: E04, E11, E21, E00, E000
Cheeks: E95
Hair: E37, E35, E33, E31
White: N3, N1, 0
Blue: B97, B95, B93, B91
Green: G17, YR17, YG03
Brown: E37, E33
Pink (Heart): RV34, RV02, RV32

I used an Arteza silver metallic gel pen for the sandal buckles.


I created the sentiment using Microsoft Publisher. The dandelion is from Altenew and the hearts are from Simon Says Stamp. The frame die is from Gina Marie Designs.


This is a fast and easy card to make. I hope you give it a try! Thank you for stopping by. Have a creative day!


Wednesday, March 30, 2022

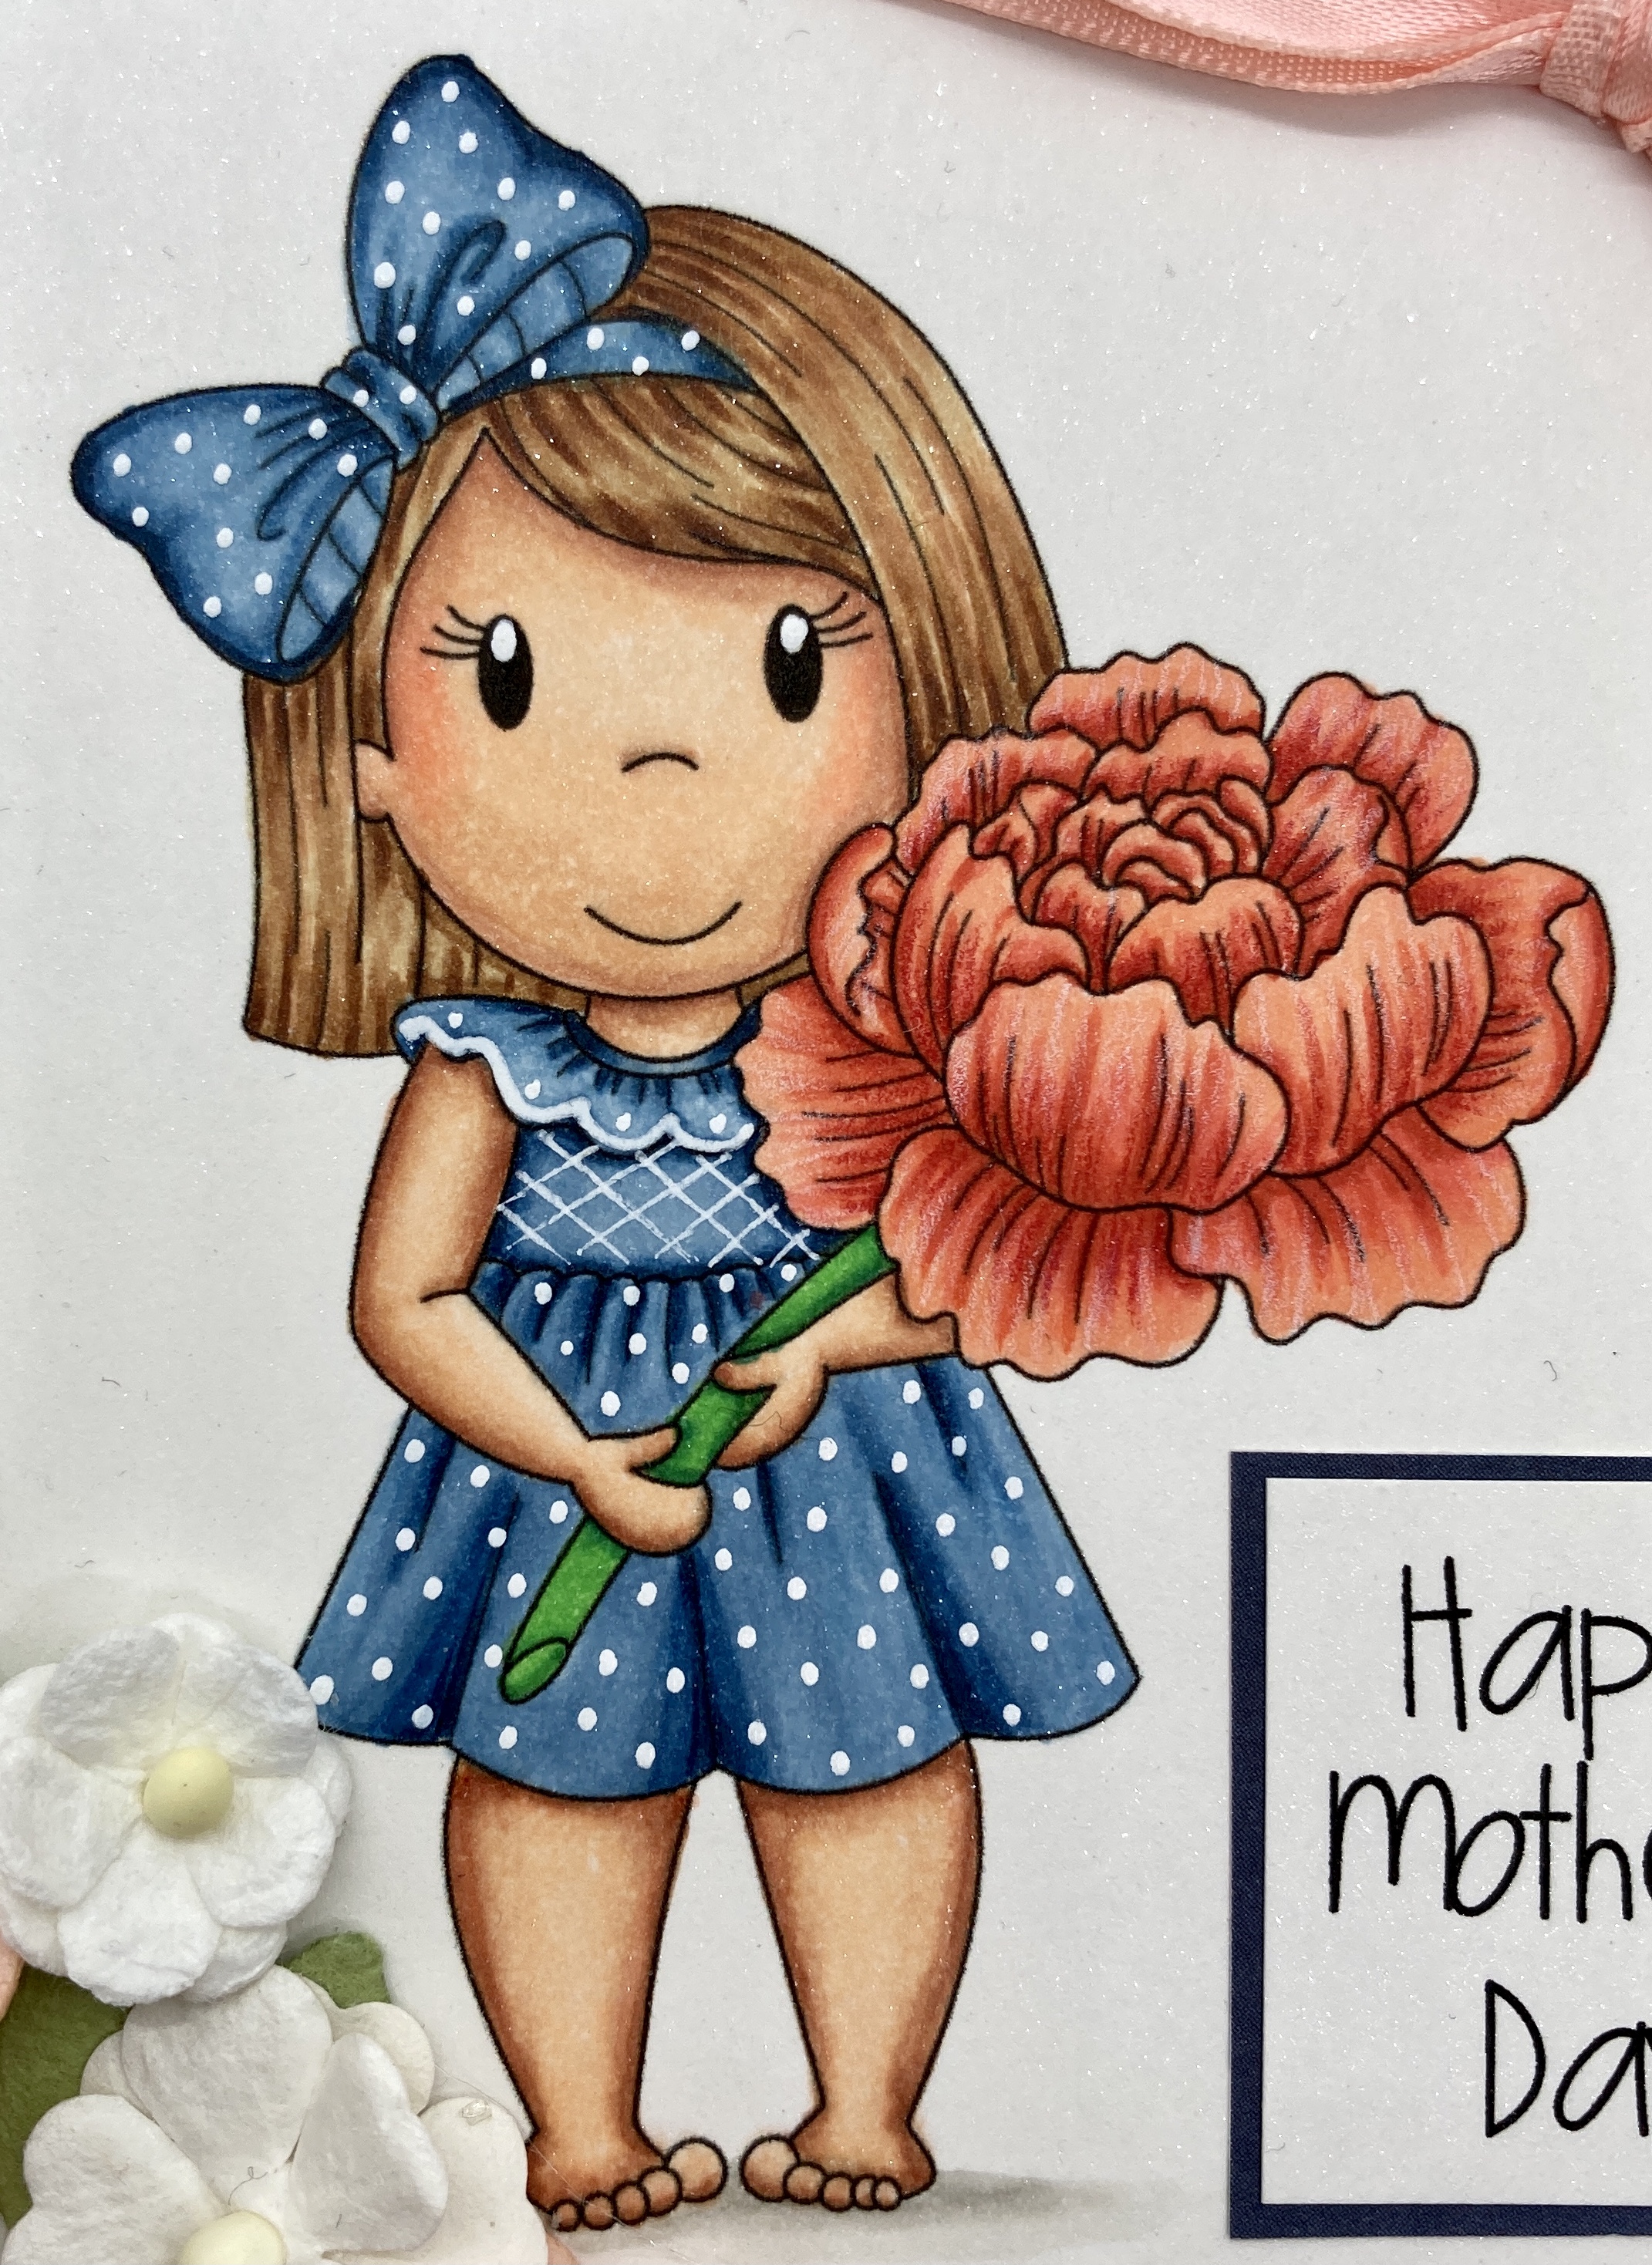
Paper Nest Dolls: Happy Mother's Day Card Using Lulu With Peony

I am getting a jump start on getting a few Mother's Day cards done. When I saw this beautiful digital stamp from Paper Nest Dolls called Lulu with Peony, I instantly knew it was going to be made into a Mother's Day card. I added some patterned paper, flowers, and a bow to make this beautiful card.


To make this A6 size card, I first printed the digital stamp 3-3/4" tall and colored it with Copic markers.


Copic markers used:
Skin: E13, E11, E21, E00, E000
Cheeks: E93
Hair: E37, E35, E33, E31
Blue: B97, B95, B93, B91
Green: G16, YG09, YG06
Orange: R08, R14, R02


I used my paper trimmer to cut the colored stamp rectangular to the size of 3"W x 4"H. I then matted it with a cobalt blue cardstock, leaving 1/8" border. The background orange paper is an older paper from my stash. I also matted it with the cobalt blue cardstock. Before adhering these strips down, I added a strip of satin ribbon. I cut out two strips of patterned paper at 1-1/2"W x 5-1/4"H from the Summertime paper pack from Echo Park. I staggered them and adhered them to the card. I then adhered the colored stamp.


I added some flowers from I Am Roses to the front of the card. I adhered them to the card with hot glue. Next, I created the Happy Mother's Day sentiment on my computer, printed it, trimmed it, and matted it with the cobalt blue cardstock then adhered it to the card. To finish the card, I added a double loop bow to the card. 

Thank you for visiting today and I hope you a wonderful and creative day! ~Betty~