

Supplies:
- Blank Page Muse Art Rubber Stamp: The Femmes Mermaid Ocean Scene
- White cardstock 4"W x 4-1/2"H to stamp image
- White cardstock to mat the colored stamped image 3-1/4"W x 3-7/8"H
- White cardstock card base for 6" x 6" card (cardstock 12" x 6" folded in half)
- Turquoise cardstock mat 5-7/8" x 5-7/8"
- Black cardstock mat 5-3/4" x 5-3/4"
- Watercolor paper 5-5/8" x 5-5/8"
- Black stamp pad with stamping block or stamp positioner
- Favorite coloring medium. I used Copic markers (colors listed below).
- Distress inks: Seedless preserves, Peacock Feathers, Worn Lipstick, Salty Ocean, Black soot
- Distress spray stain: Brushed pewter, Broken china, Picket fence
- Press 'n Seal, craft mat, or wax paper (for ink smooshing)
- Water in a spray bottle
- Heat gun
- Your favorite mermaid sentiment or any sentiment of choice
- Optional embellishments - jelly dots, enamel dots, rhinestones, or sequins
- Your favorite adhesive
Instructions:
- Stamp image on white cardstock and color with your favorite medium. I used Copic markers.

Skin: E13, E11, E21, E00, E000
Hair: Purple-V17, V15, V12, RV000
Pink-RV04, RV02, RV13, RV00
Cheeks: R20, R30
Fish & Starfish: YR16, YR15, Y13
Seashells: B02, B01, B000
Seaweed: YG17, YG13, YG03
Water: B01
Bubbles: B01, B0000, RV00, V01, BV000
- Cut out the stamp on the black outline border. Adhere the stamped image on the 3-1/4"W x 3-7/8"H piece of white cardstock and cut around it to form the mat.
- Ink the edges of the mat with Distress ink in Black Soot. Set aside.

- Time to ink smoosh!
- Protect the work surface by using Press 'n Seal, a craft mat, or wax paper. I use Press 'n Seal for easy clean up.
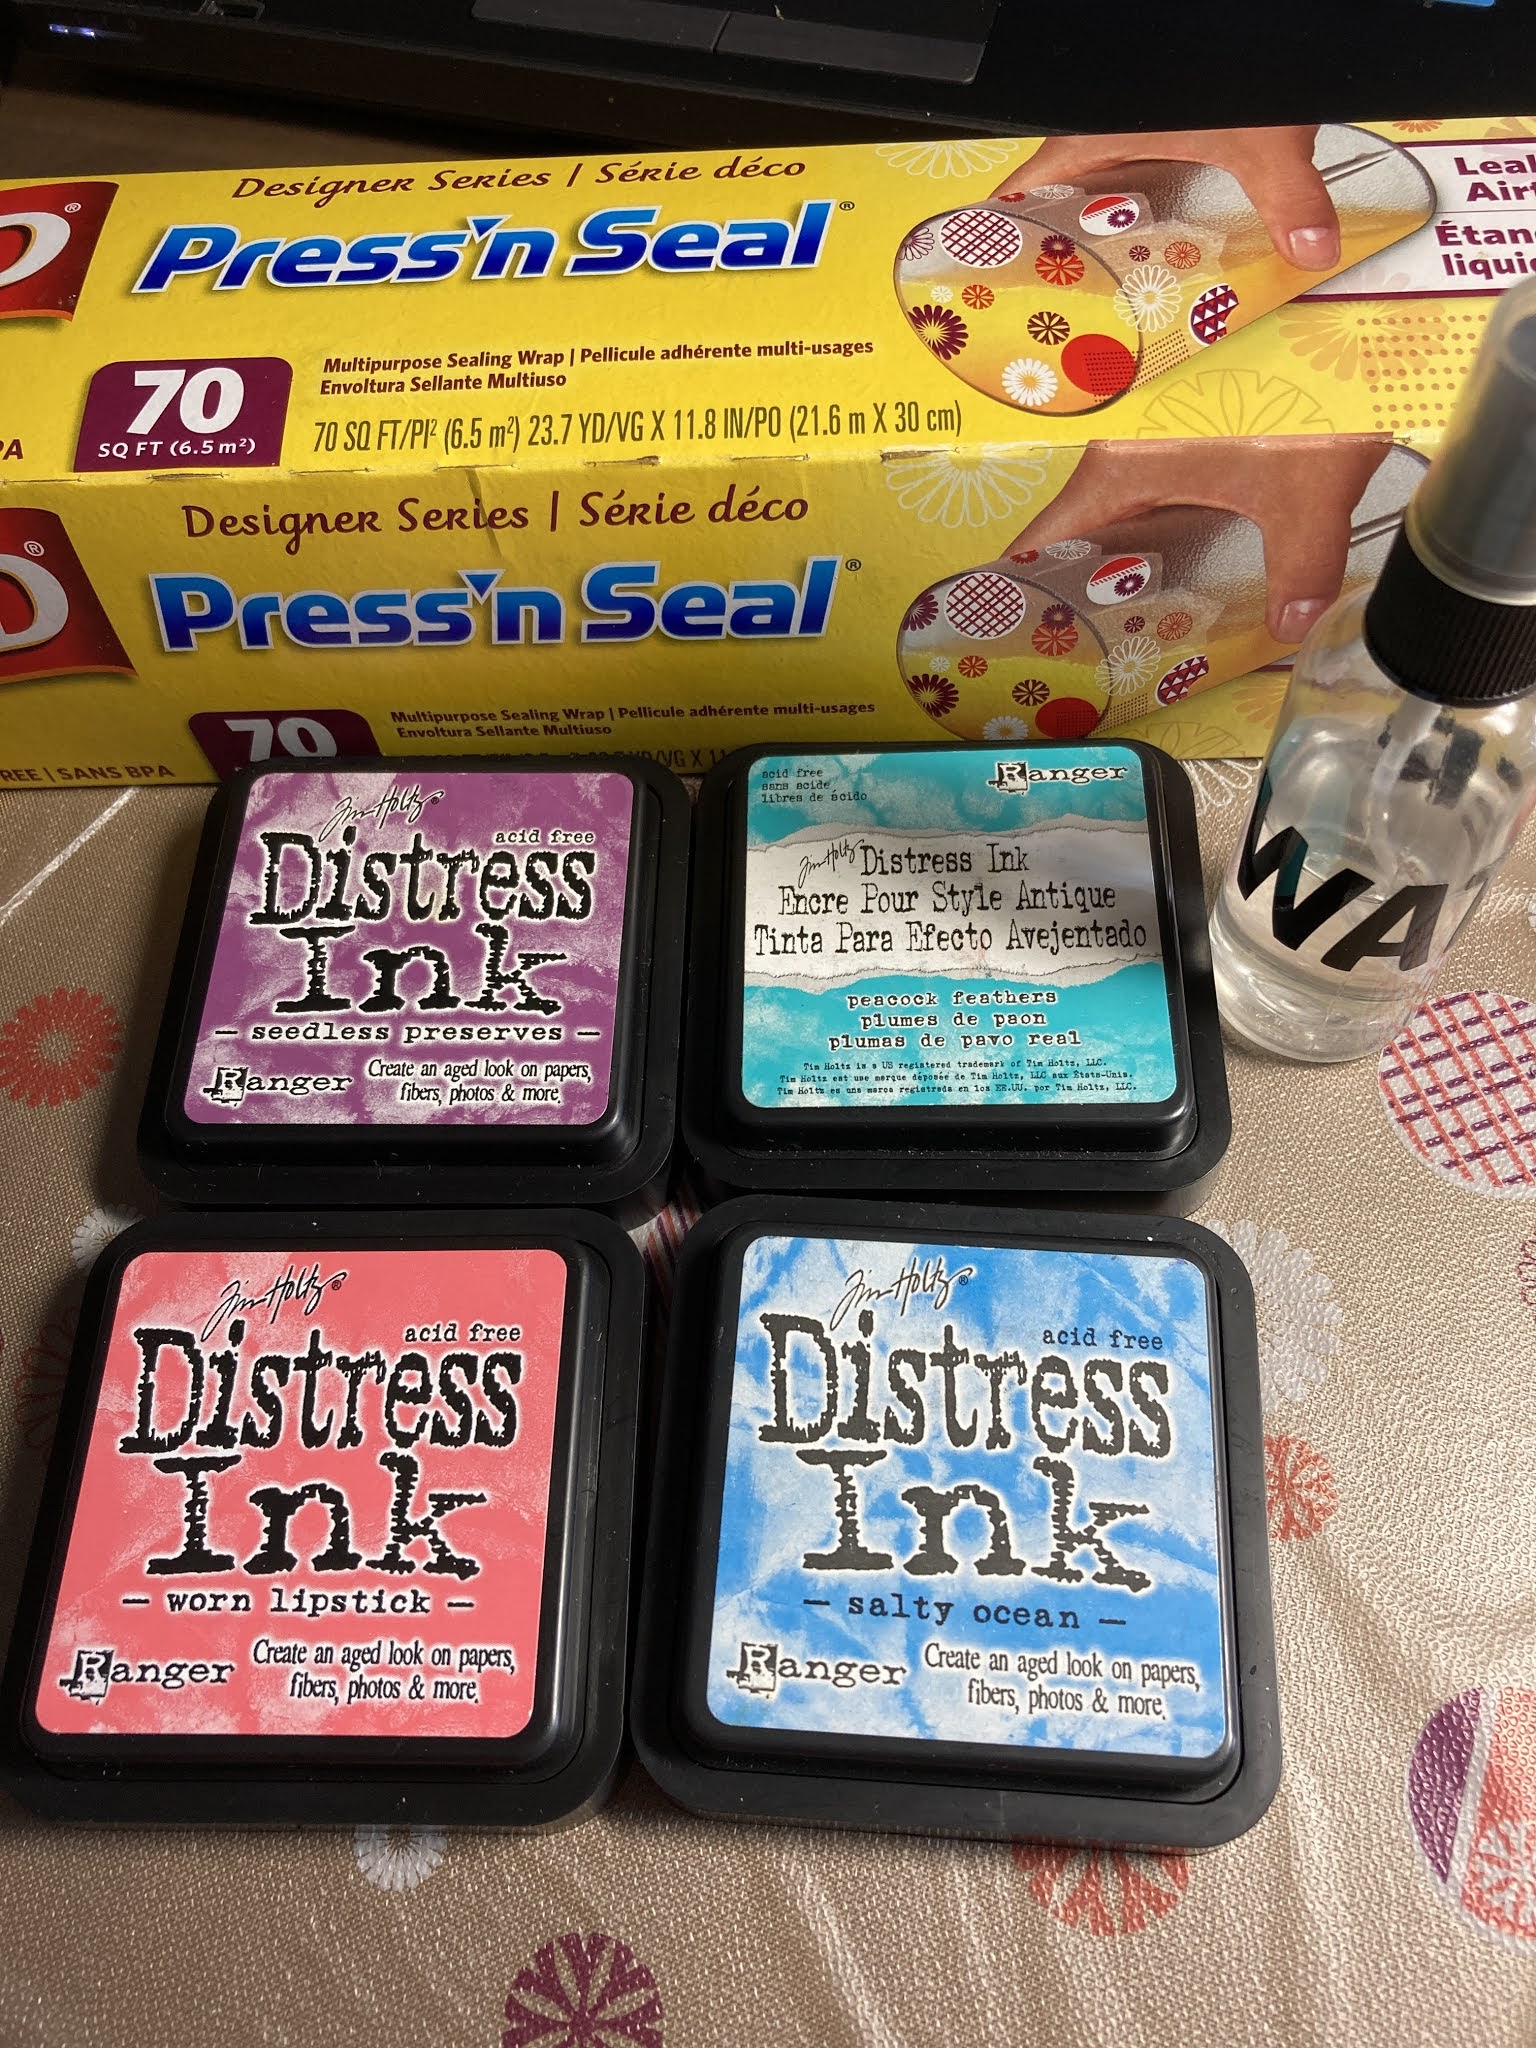
- Apply ink onto your work surface with Distress ink pads in Seedless preserves, Peacock Feathers, Worn Lipstick, and Salty Ocean
- Spritz the ink with water

- Using the watercolor paper, smoosh the paper over the ink. It will take several layers of ink smooshing to achieve an ocean/sea look. Add more ink and water when needed. Use a heat gun to dry each layer before smooshing again. Repeat until satisfied with the look.


- Using a new piece of Press 'n Seal, ink smoosh with the Distress Spray Stain in Brushed Pewter. This will give it some shine. Dry using the heat gun.


- Using the Distress Spray Stain in Broken China and Picket Fence, add droplets onto the ink smooshing using the tube from the sprayer as shown. Dry using the heat gun.


- Stamp or print a mermaid sentiment of choice, trim to size, and adhere it to a white mat. Distress the edges using Distress ink in Black Soot.

- Adhere all the card layers as shown then adhere to the 6x6 card base
- To finish the card, add jelly dots, enamel dots, rhinestones, or sequins

The card is now finished, but you can add other embellishments, such as ribbon, charms, and glitter.

Thank you for visiting today and I hope you give this card a try. Ink smooshing is a lot of fun and you can create some really cool backgrounds!
Be sure to follow Blank Page Muse at:
The Blank Page Muse Shop https://blankpagemuse.com/
FB Fan Page https://www.facebook.com/groups/bla...
Instagram - Shop https://www.instagram.com/blankpage...
Instagram - Blog https://www.instagram.com/blankpage...
Simply lovely.
ReplyDelete