Showing posts with label Texture Paste. Show all posts

Sunday, November 3, 2024

Scrappy Boy Stamps: More October 2024 release inspiration!

I have a couple more projects today using the Scrappy Boy Stamps' October 2024 release. The first card uses stamps, papers, and a stencil from the Queen of Snow stamp set. I stamped this card using kraft-like cardstock and colored it with Copic markers. I tried to give it more of a vintage look. The second project is a set of mini-slimline cards using the Cute Girls Shopping stamps and papers. 

Project 1: Queen of Snow - Love You Forever


Scrappy Boy Stamps products used:
  • Queen of Snow stamps and outline dies
  • Falling Snowflakes Background Stencil
  • Queen of Snow Paper Pack
  • Picture Frame Mini Album Die
Supplies used:
  • A6 white card base
  • A6 Black cardstock panel
  • Black cardstock scrap to mat the sentiment
  • A6 Bristol cardstock for stencil
  • Brutus Monroe Glitter Glaze (Grape)

Copic markers used:

Woman
  • Skin: E04, E11, E21, E00, E000
  • Cheeks: R20
  • Lips: R39
  • Hair: E57, E55, E53
  • Purple: V17, V15, V12
  • Blue: B28, B24, B21
  • Pink: RV17, RV14, RV11
Man
  • Skin: E04 E11, E21, E00, E000
  • Cheeks: R20
  • Hair: E18, E08, YR18, YR14
  • Yellow: Y38, Y35, Y32
  • Brown: E49, E47, E44, E43
  • Blue: B39, B37, B34, B32
Notes: 
  • Adhere the black cardstock onto the card base.
  • Stencil the Bristol paper using the Bristol cardstock and Glitter Glaze. Let dry. Using the Picture Frame Die, cut out the inside of the frame (this will be inserted inside the frame). Use the leftover piece to adhere to the top 1/4 of the card as shown.
  • Adhere patterned paper to the bottom 3/4 of the card.
  • Cut out the picture frame using patterned paper and adhere to the card.
  • Insert and adhere the stenciled center of the Picture Frame.
  • Adhere the colored stamps, snowflakes, and sentiment to the card. 
Project 2: Cute Girls Shopping - Mini Slimline Cards
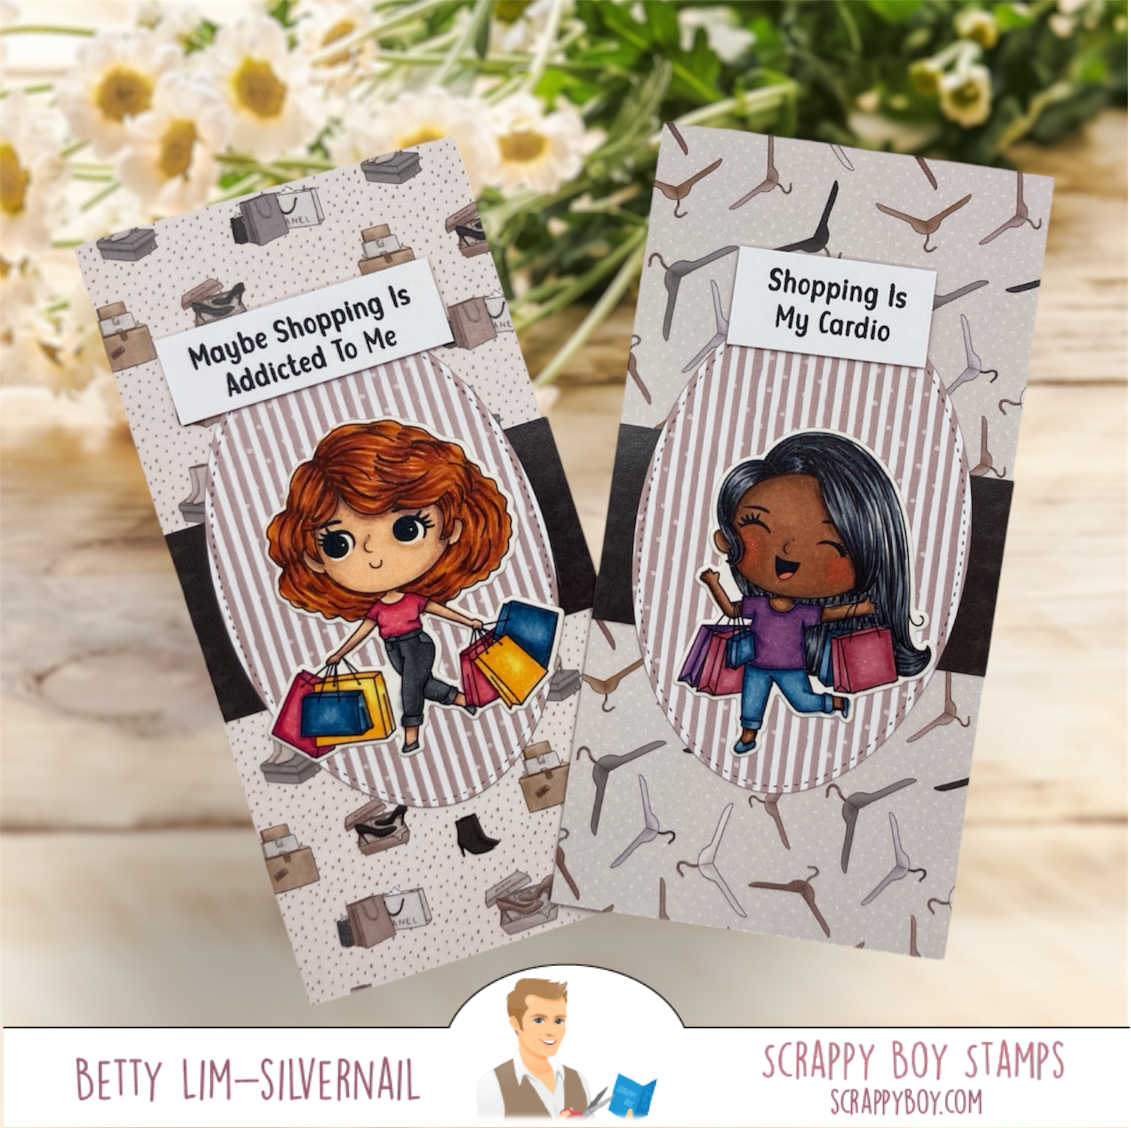

Scrappy Boy Stamps products used:
  • Cute Girls Shopping stamps and outline dies
  • I Love Shopping Paper Pack
  • Stitched Oval Die
Supplies used:
  • White cardstock to line inside of card

Copic markers used:

Girl 1
  • Skin: E04, E11, E21, E00, E000
  • Hair: E08, E18, YR18, YR14
  • Pink: RV17, RV14, RV13
  • Black: N7, N5, N3
  • Yellow: Y38, Y35, Y13
  • Blue: B97, B95, B91
Girl 2
  • Skin: E27, E25, E23, E13
  • Cheeks: R22
  • Hair: 100, C7, C5, C3
  • Blue: B97, B95, B93, B91
  • Purple: V17, V15, V12
  • Pink: R85, R83, R81

Notes (for each card):
  • Score patterned paper at 3" then fold in half.
  • Adhere white cardstock to the inside of the card for messages.
  • Cut a strip of solid cardstock 3" x 1-1/4" and adhere to center of card.
  • Use the Stitched Oval Die to cut oval from patterned paper and adhere to center of card.
  • Adhere the colored stamps and sentiments to the card.
I just love making these mini slimline cards. They are so easy to mass produce and you get to use your pretty double-sided papers!

Thank you for stopping by. Have a wonderful and creative day!


Saturday, September 21, 2024

Stamp Anniething: You are Magic

Today I'm sharing another project using Stamp Anniething's amazing September release called Bewitched, Bothered, and Bewildered. It's such a fun set that was inspired by America's favorite TV witch from the 60's-70's. Today's card uses the stamp that was inspired by the nosy neighbor, Gladys Kravitz. However, when I originally saw this stamp, I thought I could also use her as Tabitha, the little girl in this show. So this is my Tabitha card! Whether you use this stamp as Gladys or Tabitha, it's a cute stamp that you can use for many occasions. 

Stamp Anniething products used:
  • Bewitched, Bothered, and Bewildered stamps and outline dies
  • Retro Stars Stencil
  • Card Mat Die (retired)
  • Banner Die (retired)
  • Spring Surprise paper pack (retired)

Supplies used:
  • White A2 top folding card base
  • Black cardstock for mats
    • One at 4.25"W x 5.5"H
    • One at 3.25"W x 4.25"H
  • Teal cardstock for mat 3.25"W x 4.25"H
  • Bristol cardstock for stenciling - approximately 4"W x 5"H
  • Ranger Transparent Texture Paste mixed with Recollections Fine Glitter (Paradise color)

Copic markers and Prismacolor pencils used:
  • Skin: E04, E11, E21, E00, E000
  • Cheeks: R20
  • Tongue: R20
  • Hair: YR24, YR21, Y21
  • Eyes: PC938, PC906, PC1027 (Prismacolor pencils)
  • Blue green: BG15, BG13, BG11, BG10
  • Gray: N5, N3, N1
  • White: N3, N1, 0
Notes:
  • To create the glitter texture paste, mix extra fine glitter into transparent texture paste (it must be transparent). The ratio I use is 50% paste, 50% glitter. Apply the paste through the stencil using a spatula and scrape off excess using the spatula or small squeegee. Let dry thoroughly then trim to 3"W x 4"H.
  • Trim a small piece of patterned paper for the floor and adhere as shown.
  • Use the scalloped card mat die to cut out patterned paper for the panel.
  • Layer all panels as shown.
  • Stamp and trim sentiment with Banner Die. Cut a black mat for the sentiment. Adhere as shown.
  • Adhere the colored stamps and you are finished.


I hope you give this card a try! It is really fun playing with texture pastes and stencils. If you don't want to make your own glitter paste, there are many pre-made ones on the market.

Thank you for stopping by. Have a creative day!


Sunday, August 25, 2024

Scrappy Boy Stamps: August 2024 New Release Inspiration

It's time to get your Halloween projects started! Scrappy Boy Stamps' August 2024 release has the most awesome new stamps, dies, papers, and stencils! There a spooky stamps and some cutesy ones to create projects for all ages. Check out the Scrappy Boy Stamps webstore for the entire release. Today I am sharing two cards I made with the two Halloween-themed new releases, Haunted Halloween and Cute Kids Halloween Dress Up. Please scroll down to see both cards.

Project 1:  Haunted Halloween - Foolish Mortal


Here's a spooky card I created with a stamp, stencil, and papers from the Haunted Halloween new release. I just love creating backgrounds using stencils and stencil paste.


Scrappy Boy Stamps products used:
  • Haunted Halloween 6x8 Stamp & Dies
  • Skull from Tombstone Die
  • Haunted Halloween Paper Pack
  • Spooky Eyes Background Stencil
  • Grass & Clouds Edger Dies
  • Stitched Oval Die
  • Stitched Circle Die
Supplies used:
  • A6 white card base
  • Black Mixed Media cardstock (watercolor cardstock)
  • White cardstock scrap to die cut skull
  • Gray cardstock scrap for sentiment
  • The Crafter's Workshop Stencil Butter in Chartreuse

Copic markers used:
  • Face and hands: YG03, YG11, G0000, C1
  • Hair: YG67, YG63, C3
  • Gray and green combo for remaining areas: BV29, BV25, BV23, BV20, YG03
Stencil Instructions:
  • Create the stenciled background using the Spooky Eyes Background Stencil and Stencil Butter. Set aside to dry thoroughly. Cut the oval background using the 5" tall Stitched Oval Die.

Project 2: Cute Kids Halloween Dress Up - Trick or Treat Smell My Feet


You can't go wrong with making cute Halloween cards with the adorable cute Kids Halloween Dress Up stamps and I Love Halloween Paper Pack. Fun and easy to color stamps make this card a quick make!


Scrappy Boy Stamps products used:
  • Cute Kids Halloween Dress Up stamps & outline dies
  • I Love Halloween Paper Pack
  • Stitched Circle Dies
Supplies used:
  • A2 white card base
  • Orange cardstock for mat

Copic markers used:

Mummy Girl
  • Skin: E15, E13, E11, E00
  • Hair: RV17, RV14, RV11
  • Green: G14
  • White: N5, N3, N1, 0
Devil Boy
  • Skin: E04, E11, E21, E00, E000
  • Cheeks: E93
  • Tongue: E95, E93
  • Red: RV29, RV14, RV12, RV21, RV10
  • Black: N7,N5, N3, N1
Circle Instructions:
  • Cut two circles using the 2.5" Stitched Circle Die using the patterned paper. Adhere the colored images onto the circles with double-sided foam tape r liquid glue.

I hope you give these two Halloween cards a try! So easy and fun! Thank you for stopping by. Have a wonderful and crafty day!


Thursday, June 13, 2024

Stamp Anniething Sneak Peek Day 2: What Happens in Vegas...

Welcome to Day 2 of Stamp Anniething's June 2024 sneak peeks where the theme is all about Las Vegas! More commonly known as just Vegas, it's a city full of nightife, entertainment, food, and gambling! I've been there many times and each time I go, there's something new to see and experience. One of my favorite things to do in Vegas is to play the slot machines so I was so excited when Stamp Anniething came out with this Slot Machine Builder Die! Vegas is well-known for big-name entertainers with glitzy beautiful clothes and big hair, just like this gorgeous stamp, Betsy - What Happens in Vegas. Such a fun set for all you Vegas fans!

Stamp Anniething products used:
  • Betsy - What Happens in Vegas stamp and outline die
  • Slot Machine Builder Die
  • Basket Weave Stencil
  • Sentiment Strips
Supplies used:
  • A6 white card base (6-1/4"W x 4-1/2")
  • Black Cardstock for mat (6-1/4"W x 4-1/2")
  • Bristol or watercolor cardstock to create ink smooshed background (6"W s 4-1/4"H)
  • Bristol or watercolor cardstock to create stenciled panel (4-3/8"W x 3-5/8")
  • Scrap cardstock in Gray, White, Black
  • Scrap glitter cardstock in Turquoise, White, Lime Green, Red
  • The Crafter's Workshop Stencil Butter in Turquoise
  • Distress Ink in Peacock Feathers

Copic markers used:
  • Skin: E23, E13, E11, E21
  • Cheeks: RV20
  • Tongue: R22,R20
  • Lips: R29
  • Hair: E18, E08, YR18, YR14
  • Clothes & earrings: BG49, BG45, BG23 +White gel pen
  • Shoes: N7, N5, N3

Instructions:
  1. Create the ink-smooshed background with the Bristol or watercolor cardstock and Distress Ink in Peacock Feathers. Adhere to the black cardstock mat.
  2. Create the stenciled panel using the Basket Weave Stencil and Stencil Butter. Make sure the Stencil Butter is completely dried then adhere to the ink-smooshed background. I waited a couple of hours.
  3. Cut out the Slot Machine Builder Die and assemble. Adhere to the stenciled panel.
  4. Stamp and trim the sentiment. Adhere to the stenciled panel.
  5. Adhere the Betsy image with double-sided foam tape to look as she is sitting on the sentiment strip.
  6. Adhere the finished card front onto the card base.


Thank you for stopping by! Please come back for Day 3 of sneak peeks! Have a creative day.


Sunday, March 24, 2024

Scrappy Boy Stamps: March New Release Inspiration!

I am having so much fun creating three more projects using the Scrappy Boy Stamps March new releases! If you haven't ordered them yet, don't wait, they are selling fast! The new release is available in the Scrappy Boy Stamps webstore.

This month's new release consists of:
  1. Main release: Blonde Ambition stamps & outline dies
    • Cheetah Print Layered Background stencil
    • Blonde Ambition Paper Pack
  2. Cute Girls: Spa Day stamps & outline dies
    • Bokeh Layered Background stencil
    • I Love the Spa Paper Pack
  3. Once Upon a Time Series: 1) Snow Prince stamps & outline dies and 2) Little Dudes stamps & outline dies
    • Poison Apples Layered Background stencil
    • Snow Princess Paper Pack
  4. Magic Mirror Mini Album Die
  5. Little Box & Lid Die
Project 1: Blonde Ambition - Strike A Pose!

I was so excited when Scrappy Boy Stamps came out with the Blonde Ambition stamp set! 
The Queen of Pop is one of my all time favorite musicians. I love making 6x6 cards, because the 6x6 stencils fit perfectly. For today's card, I used a previously release stencil from the Warrior Princess set that was perfect for this card.


Scrappy Boy Stamps products used:
  • Blonde Ambition stamp and outline die
  • Blonde Ambition Paper Pack
  • Warrior Princess Scene Builder Stencil
  • Stitched Rectangle Dies
Supplies used:
  • Sizzix Alphabet Dies for the word Vogue
  • White glitter paper
  • Transparent Texture Paste (for stenciling)
  • Silver Glitter (mixed into texture paste)
  • 6x6 white card base

Copic markers used to color stamps:
  • Skin: E04, E11, E21, E00, E000
  • Cheeks: E93
  • Lips: R29, R24, R22
  • Hair: E13, E11,E53, YR31
  • White: N3, N1, 0 + E0000
  • Silver: N5, N3, N1


Project 2: Cute Girls - You deserve a SPA DAY!

I created this fun-flip fold card using the pretty papers from the I Love the Spa paper pack and one of the Spa Day cute girls stamps. Add a spa gift card to this card for the spa gift!


Scrappy Boy Stamps products used:
  • Cute Girls Spa Day stamp and outline die
  • I Love the Spa paper pack
  • Stitched Rectangle Die

Supplies used:
  • A2 white card base. Cut front panel in half at 2-1/8". Cut a square panel at 3-1/4" x 3-1/2" and score at 1/4". Fold at score line and glue onto the card base. 
  • Lavender cardstock. Cut to fit the panels leaving a 1/8" border, then cut the patterned papers to fit on top of the panels leaving a 1/8" border. 

Copic markers used to color stamp:
  • Skin: E25, E11, E21, E00
  • Cheeks: R20
  • Hair: C9, C7, C5, C3
  • Blue Green: BG13, BG34, BG11
  • Yellow: Y38, Y13
  • Pink: RV17, RV13, RV10
  • Gray: W4, W3, W1, W0

Project 3: Snow Princess - ...Love Gives us a Fairytale
I made this all-occasion card using the beautiful Snow Princess stamps, papers, and stencils so that I have cards ready in my stash when I need one. It's a fun and cute card for friends and family of any age!


Scrappy Boy Stamps products used:
  • Snow Princess stamps and outline dies
  • Snow Princess Paper Pack
  • Poisoned Apples Layered Background Stencil
  • Stitched Rectangle Die
Supplies used:
  • A6 white card base
  • Black cardstock
  • White cardstock
  • Distress Inks for stenciling: Candied Apple, Peeled Paint

Copic markers used to color stamps:

Snow Princess
  • Skin: E04, E11, E21, E00, E000
  • Cheeks: E93
  • Lips: R29
  • Hair: N9, N7, N5, N3
  • Green: YG17, YG03
  • Yellow: V01, Y15, Y13, Y11
Witch
  • Skin: E04, E11, E21, E00
  • Wart: G94
  • Tongue: R20
  • Hair: N4, N3, N1
  • Brown: E37, E35, E33, E31
  • Green: YG17, YG03
  • Red: R27, R22, R21
  • Black: N9, N7,N5, N3
Mirror
  • Gold: YR24, YR23, YR21
  • Blue: BG01, BG000, BG0000

Thank you for visiting today. I hope you are inspired to create some projects with the March new release! The new release is available in the Scrappy Boy Stamps webstore. Have a creative day!


Friday, February 2, 2024

Coffee Loving Cardmakers: You Perk Up My Life

What an honor to be February's guest designer for Coffee Loving Cardmakers where it's all about coffee, tea, and hot-chocolate related paper crafting projects! If you are a coffee and/or paper craft lover, you must check out their blog (Coffee Loving Cardmakers), Facebook Group (Coffee Loving Paper Crafters), or Instagram (Coffee Loving Cardmakers)! 


I get up in the morning before my husband so I am the coffee maker. Between the two of us, we normally drink one pot, but on occasion we need to make another half a pot. I am a no frills coffee drinker. My go-to coffee is Yuban, and I drink it black. It's pretty much coffee and crafting for me in the mornings. It's so nice to be retired!

Although I don't wear pink curlers any longer, I do remember wearing them when I was younger. This digital stamp from Super Sponsor Stamp Anniething, called "But Coffee First" is me in my younger days!


Stamp Anniething products used:
  • Digital Stamp "But Coffee First"
  • Coffee Bar Builder Dies
  • Houseplant Builder Dies
  • Brick Stencil
  • Sentiment from "Kristina-Watch Me Sip" stamp set
Supplies used:
  • Speedball Modeling (texture) Paste (white)
  • Distress Inks
    • Bundled Sage for brick wall
    • Gathered Twigs and Bundled Sage for coffee bar
  • A2 white card base
  • Brown cardstock mat
  • Bristol cardstock for brick wall

Copic markers used to color stamps and dies:

But First Coffee stamp:
  • Skin: E04, E11, E21, E00, E000
  • Cheeks: R20
  • Tongue: R22, r20
  • Pink: R56, R85, R83, R81
  • Hair: 100, C7, C5, C3
  • Green: G17, G14, G12
  • Brown: E39, E34
Coffee Pot:
  • Brown: E39, E37, E25
  • Green: G17, G14, G12
  • Pink:  R56, R85, R83, R81
  • Blue (glass): BG0000
Coffee Cups and Plants:
  • Green: G17, G14, G12
  • Pink:  R56, R85, R83, R81
Instructions:
  • First create the brick background with the modeling paste. Ensure it is completely dry before proceeding to the next step.
  • Using a sponge blending tool, add the Distress Ink in Bundled Sage to the center of the panel, keeping the outer edges white.
  • Cut out the pieces of the Coffee Bar Builder Dies in white cardstock. Ink the main piece using Distress Ink in Gathered Twigs. Drag the ink pad on the cardstock to make it look like wood. Then drag the Bundles Sage ink pad on the trim pieces.
  • Color the coffee pot and coffee cups with Copic markers (colors listed above). Assemble and glue the pieces together.
  • Cut out the pieces of the Houseplant Builder Die. Color with Copic markers. Assemble and glue the pieces together.
  • For the floor, I found of piece of brown speckled patterned paper in my scrap pile. I cut a strip of tan paper for the floor board. 
  • Adhere all the pieces onto the card base as shown. The girl and house plants are mounted with foam tape and everything else with liquid glue.
  • To finish the card, stamp the sentiment, trim, and adhere to the card front using foam tape.

Thank you for stopping by! I'll be guest designing all month making some fun coffee-related cards, so please come back and visit again! Have a creative day!

Friday, December 8, 2023

Stamp Anniething Sneak Peek Day 3: I Really Like... Your Heart

Welcome to Day 3 of Stamp Anniething's December 2023 sneak peeks where this month's theme is inspired by social media! Today's card features the beautiful stamp, Courtney - I Really Like..., the Grid Stencil, and the #Memories Word Die. Such a cute and fun release to make cards and scrapbook pages for all your social media family and friends!

Stamp Anniething products used:
  • Courtney - I Really Like... stamp and outline die
  • Grid Stencil
  • #Memories Word Die
  • Stripes and Dots Paper Pack
  • Farm Life Paper Pack
  • Enamel Dots

Copic markers used:
  • Skin: E27, E25, E23, E13
  • Cheeks and tongue: R22, R20
  • Hair: 100, N7, N5, N3
  • Pink: RV69, RV66,RV63, RV55
  • Blue: BG09, BG07, BG02, B000, B0000

To create the sparkly stenciled strip, I used the Grid Stencil with transparent texture paste mixed with fine glitter and stenciled a piece of pattered paper from the Farm Life Paper Pack.

Thank you for visiting today. I hope you enjoyed this month's sneak peeks! Have a creative day!


Monday, November 20, 2023

Stamp Anniething: Sending Love This Christmas (and always)

Today is my Stamp Anniething Design Team Day where I use an older stamp to create a project. I chose the digital stamp called "For the Love of Coffee" and turned it into a Christmas card. I hand drew a couple of candy canes and a peppermint stick to add to the coffee cup. I used the Poinsettia Quilt Stencil and texture paste with red glitter to make the background more festive.


Stamp Anniething supplies used:
  • For the Love of Coffee digital stamp
  • Poinsettia Quilt Stencil from September 2023 Stencil Club
  • Sentiment from Holidayville stamp set
  • Shaker Basics Set #1 to cut out circle vellum
  • Porcelain Embossing Powder

Copic Markers used:
  • Skin: E04, E11, E21, E00, E000
  • Cheeks: R20
  • Tongue: R22, R20
  • Hair: E18, E08, YR18, YR14
  • Red: R39, R37, R24, R22
  • Green: G17, G24, G21
  • White: T3, T1,T0, 0

I added extra fine red glitter to transparent glitter paste then stenciled the background using the Poinsettia Quilt Stencil. I used the circle die from Shaker Basics Set #1 to cut out the vellum and placed it on the bottom corner of the card and trimmed off the edges. 

To finish the card, I stamped the sentiment with white pigment ink onto black cardstock and used the Porcelain Embossing Powder to emboss the sentiment.


Thank you for stopping by! Wishing you happy holidays! 

Friday, March 17, 2023

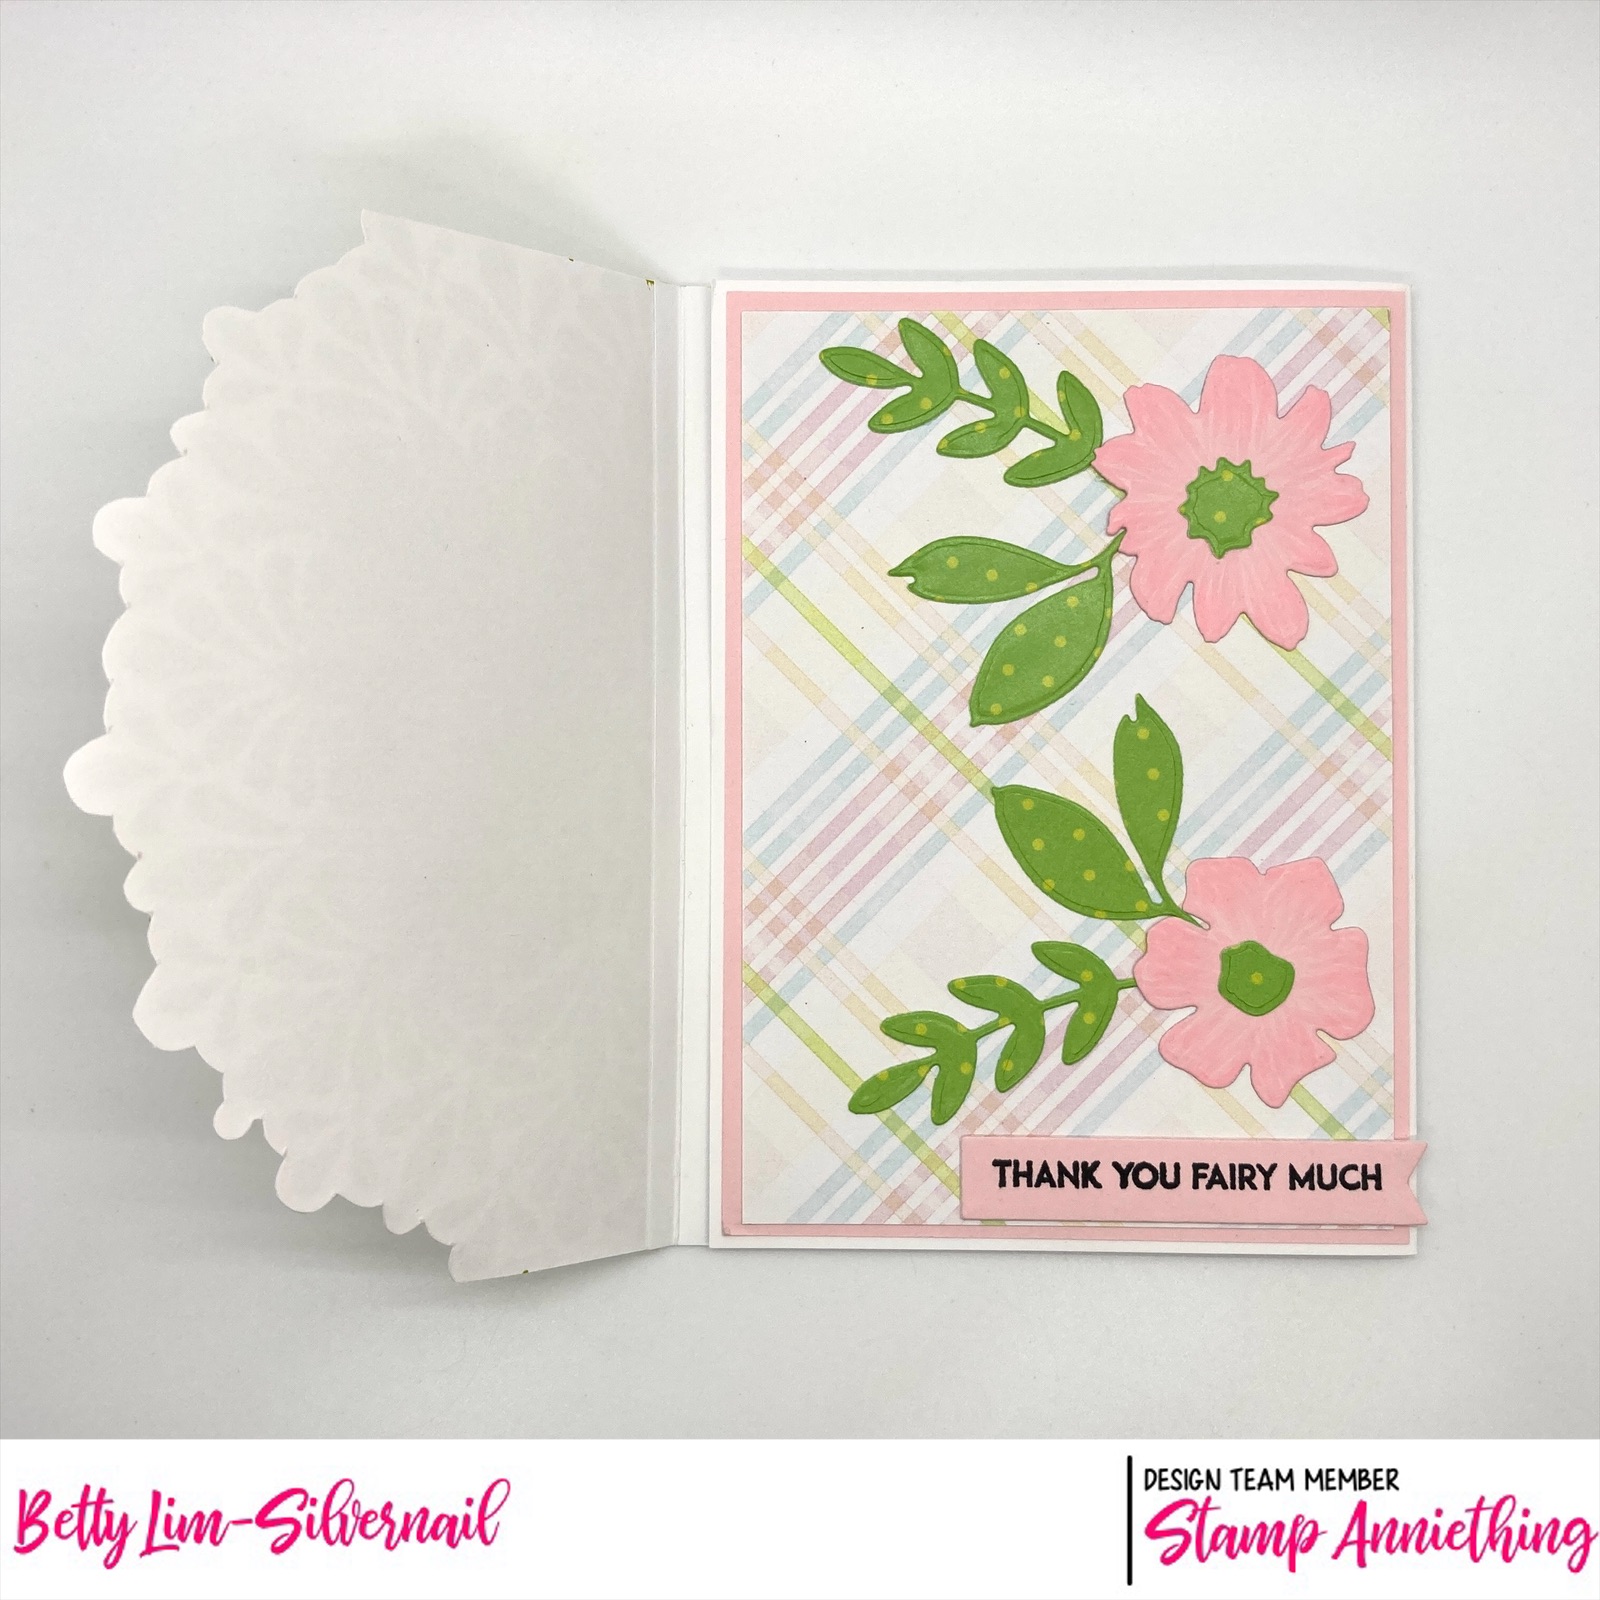
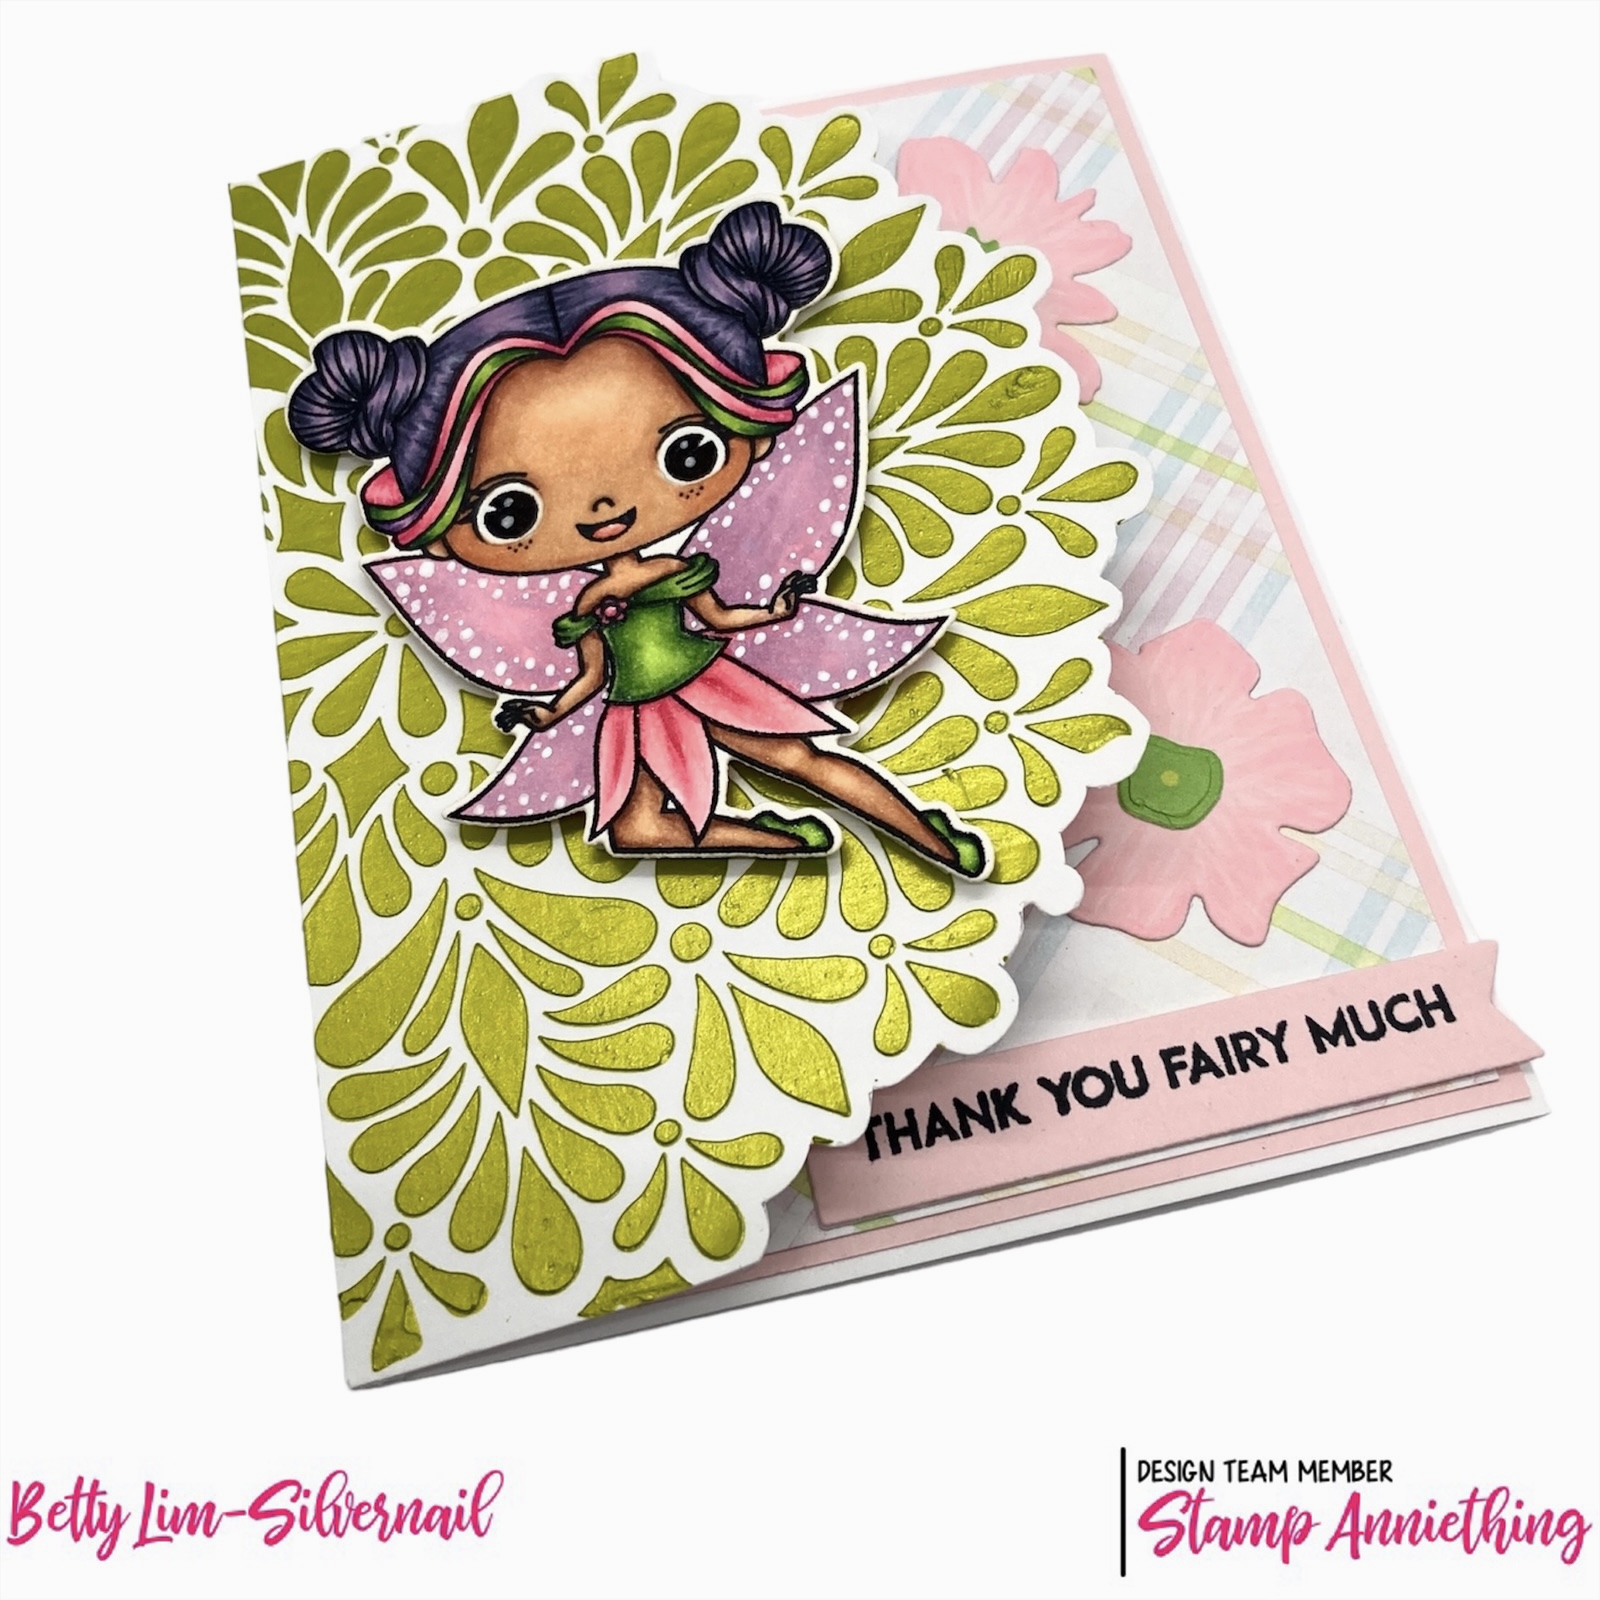
Stamp Anniething Sneak Peek Day 3: Fern - Thank You Fairy Much

Welcome to Day 3 (final day) of Stamp Anniething's sneak peeks where the theme is fairies. Today's A2 card features the beautiful Fern - Thank You Fairy Much stamp and coordinating outline die, the Foliage Lace Stencil, and the Flowers and Leaves Builder Dies.

Stamp Anniething products used:
  • Fern - Thank You Fairy Much stamp and outline die
  • Foliage Lace Stencil
  • Flowers and Leaves Builder Dies
  • Banner Dies
  • Welcome Spring Paper Pack
  • Stripes and Dots Paper Pack


I colored the stamp using Copic markers in the following colors:

Skin: E17, E13, E11, E21, E00
Cheeks: E93
Tongue: R22, R20
Hair: BV29, BV25, BV23, V12
Green: G28, YG17, YG03, YG01
Pink: RV25, RV23, RV21
Wings: RV21, V01, white gel pen


I created a tri-fold card. The front panel is using the new Foliage Lace Stencil with The Craft's Workshop Stencil Butter in Chartreuse. 

I cut out the flowers using pink cardstock, then added a little dimension using Copic marker RV00. I cut out the leaves using the Stripes and Dots Paper Pack. 

I hope you enjoyed this week's sneak peeks of this month's new release. Cute stamps, dies, and stencils for you to play with! 

Have a wonderful and creative week!