
Hello Everyone! One thing I love doing is getting the most use out of my products. I try to find other ways of using them other than what they're originally designed for. Today, I am sharing how you can use the Stamp Anniething Shaker Basics dies and the Shaker Tag Topper die to make treat boxes. It's so easy and something you can mass produce for parties. These treat boxes will fit 3-4 fun size candy bars.

For these treat boxes, I've used this month's stamp releases. The coloring information is in my previous blog posts so this post is on how to make the treat boxes using dies. The links for the chibi doll color details are as follows:
Supplies for the treat box:
- Stamp Anniething Shaker Basics Set #1 -circle die
- Stamp Anniething Shaker Basics Set #2 -tag die
- Stamp Anniething Shaker Tag Topper Dies -you can use any one you like
- Stamp Anniething Banner Dies -you can use any of the shorter ones you like
- Stamp Anniething Hybrid Ink - Moonrock
- Stamp Anniething Blender Brush
- Twine
- Double-sided thick/heavy patterned paper - a 12" x 12" sheet will make 2 treat boxes
- Strong adhesive (I used Scor-Tape. You can use liquid glue too)
- Paper trimmer
- Scoring board
- Bone folder
- Die cut machine
- Two-way glue (I used Tombow Multi Mono Liquid Glue. You also use the ZIG glue)
- Sentiments (I used MS-Word to create them and printed on my printer)
- Candy for treat boxes (instead of candy, you can fill them with lip gloss, nail polish, anti-bacterial hand gel, jewelry, and other small gifts!)
- Optional items: Heart die cuts and other embellishments (jelly dots, rhinestones, stickers, etc.)
Instructions:
- For each box, die cut two tags and one circle.

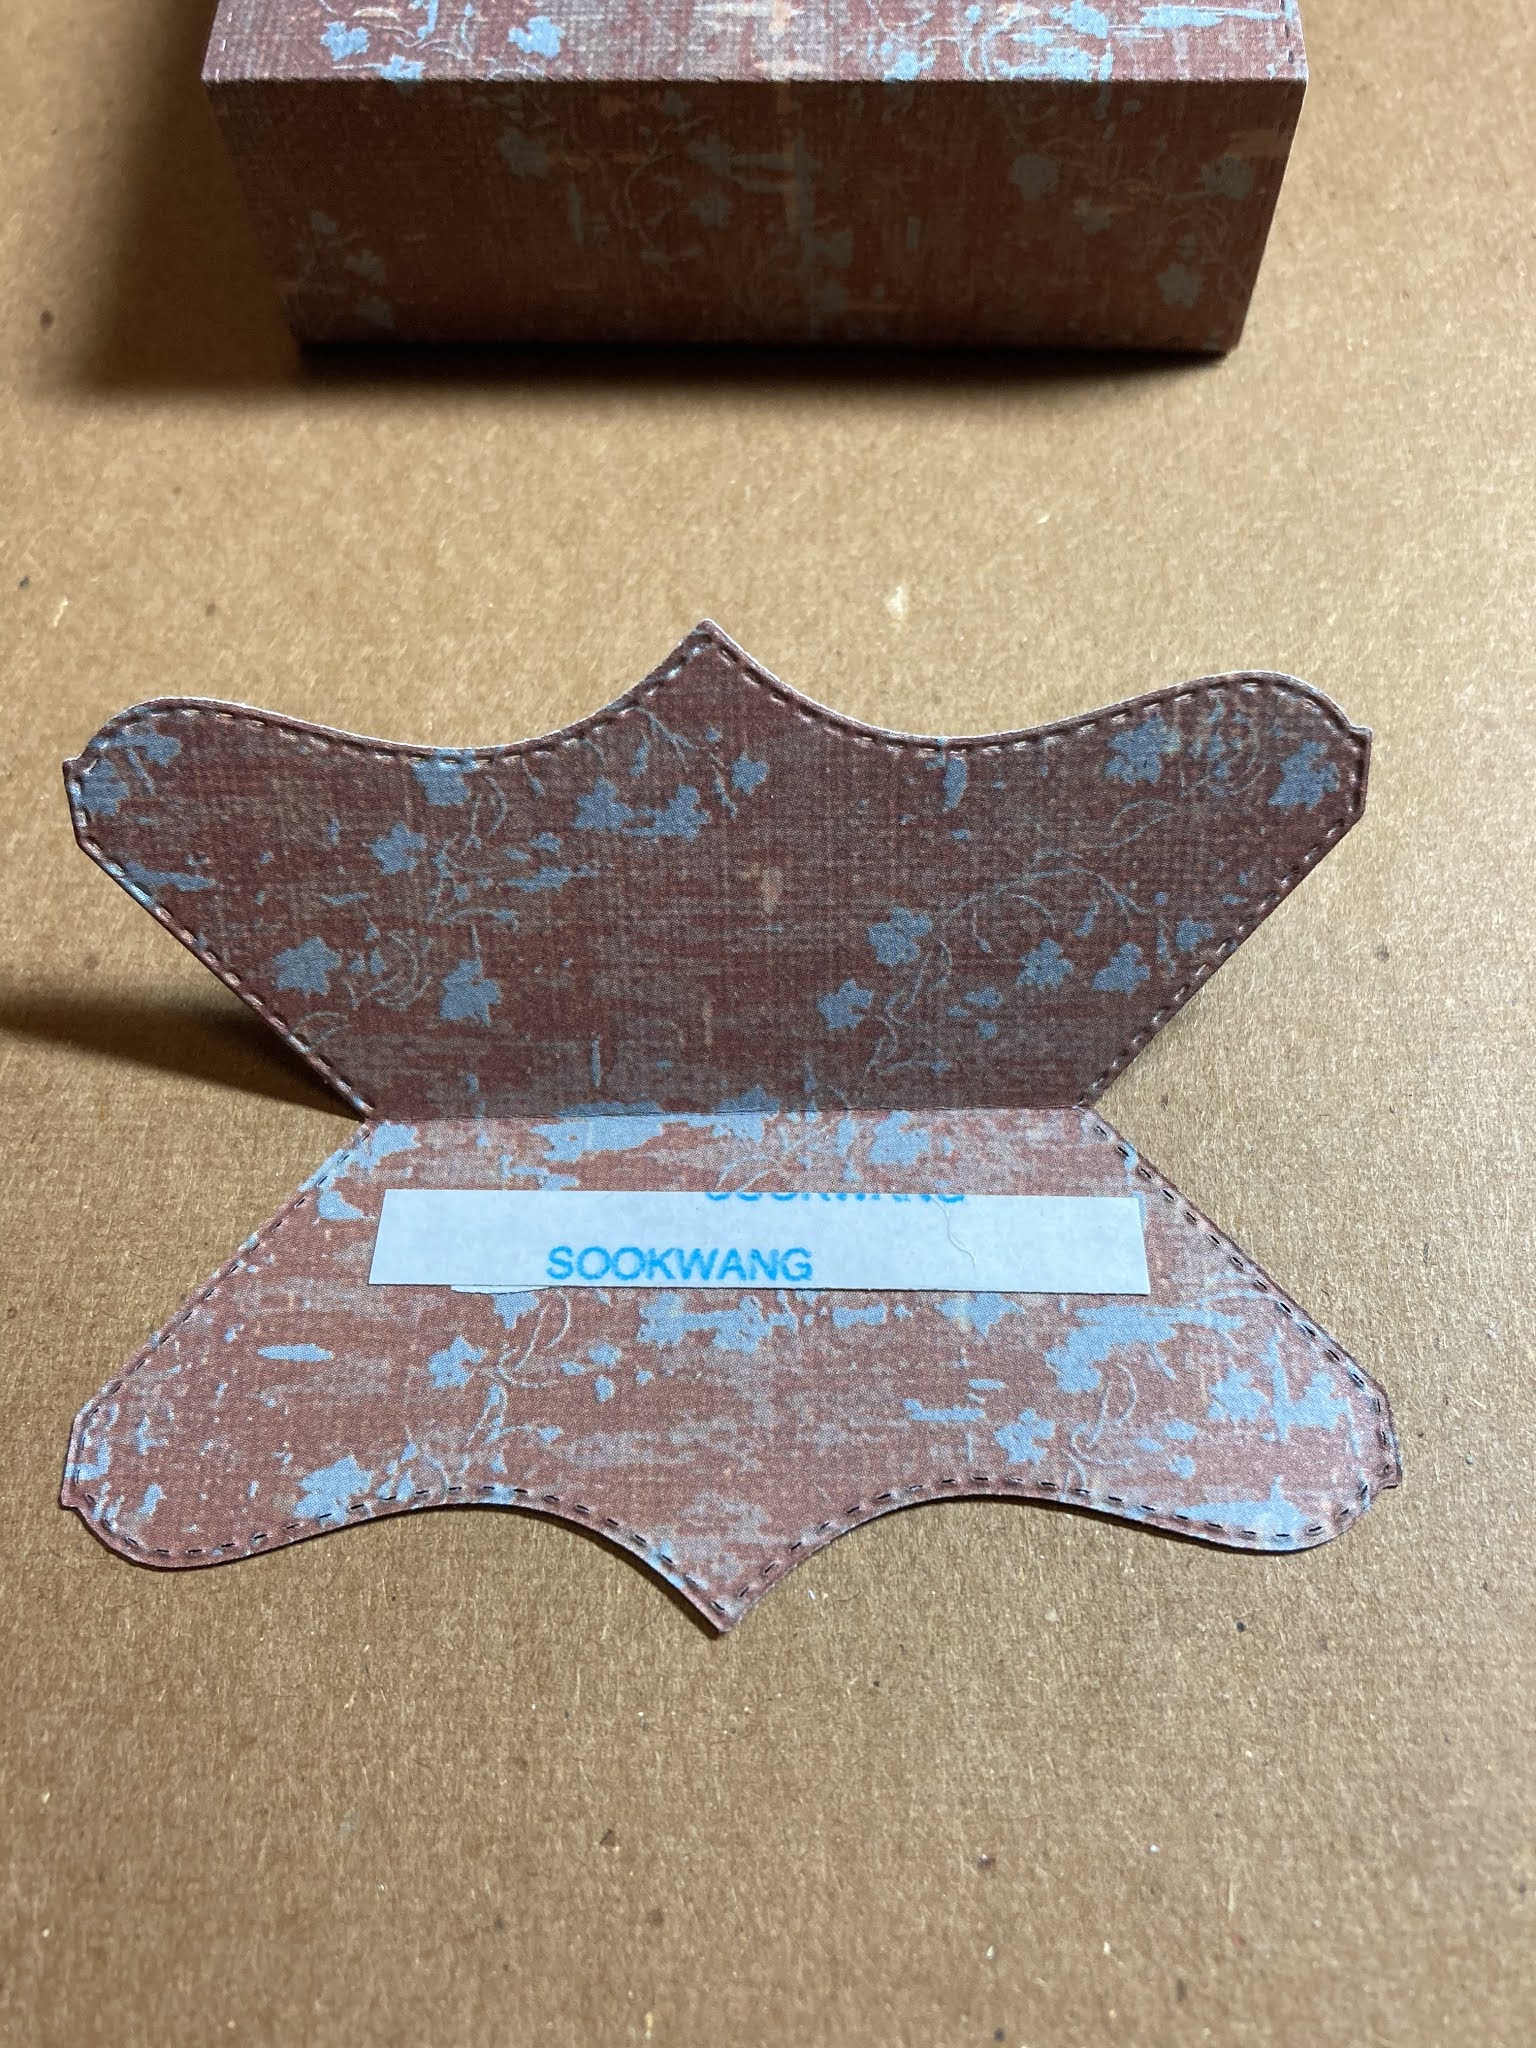
- The tag topper die needs to be cut in one piece and should be the flip side of the two-sided patterned paper. To do this, cut a piece of patterned paper 3-3/4"W x 4"H and score at 2" on the long side. Place the bottom edge of the die over the fold so that it doesn't cut. The tag topper needs to be one piece with a fold in the middle.


- Using a scoring board, score the bottom of both tags at 1".

- Cut the circle die in half at 1-3/4" using a paper trimmer.

- Score the half circles at 1" and 2-1/2"

- Flip over the half circles and score at 1-3/4". This will form the side gussets for the box.

- This is what you should now have and ready to assemble.

- Add strong adhesive to the inside (bottom) of one of the tags. Place the other tag over it forming the bottom of the box.


- Add strong adhesive to half circles making sure the gusset folds inward. Adhere to the front and back of the box to for the sides.


- Add adhesive to one side of the tag and adhere to the top of box.
- Using the two-way glue (either the Tombow or Zig), add to the flap and let it dry before continuing. The Tombow glue I used will dry clear. This is the reclosable flap so you only need a small dab. Make sure the glue is completely dry so that it becomes a removable bond and not permanent.


- Using a Stamp Anniething Banner Die, cut the sentiments. Using the blending brush ink them with the with the hybrid ink to make them look distressed.


- Adhere the sentiment and your colored stamp (chibi) onto the box.

- Tie some twine around the tag die and finish it with a bow.

- Add the candy and close the flap.

Your treat box is finished! You can decorate the box with heart die cuts, sequins, gems, and other embellishments. I like keeping it simple for safety reasons in case there are young children attending the party.

Thank you for stopping by! I hope you give these treat boxes a try. Have a wonderful day! If you have any questions or comments, please leave them below.
So cute. Thank you such clear instructions.
ReplyDelete